
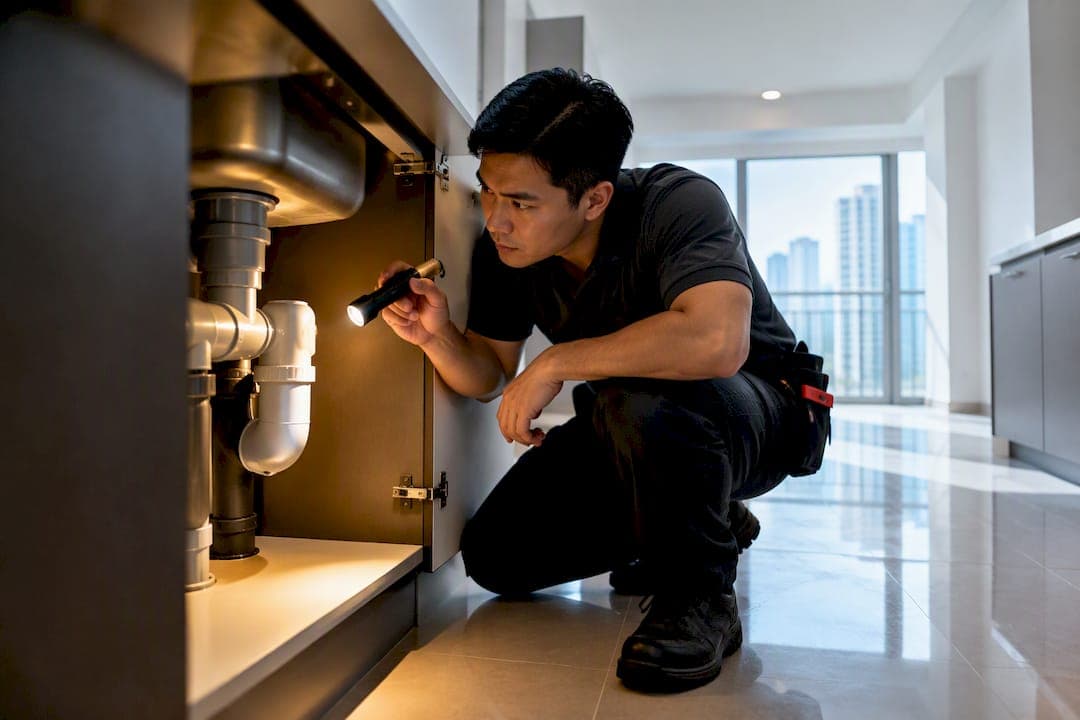
Get a professional pre-move pest inspection before moving your belongings in. A qualified inspection detects active infestations, pinpoints entry points, and gives you a written plan for remediation before your furniture, boxes, and food arrive. The next step is simple: contact an NEA-registered Vector Control Operator and request a full inspection report.
TL;DR:
- A professional pest inspection uses IPM principles, focusing on identifying and addressing the root causes of infestations to reduce chemical use.
- Inspectors check for specific signs like mud tubes and frass for termites, droppings for rodents, and odor or fecal spots for bed bugs across all property areas.
- Scheduling the inspection at least one week before moving allows time for treatment, report review, and pest control to take effect before unpacking.
- Verification of licensing and inspection evidence, plus demand for a detailed report, ensures compliance and thoroughness of the pest assessment.
- Records from the inspection, including photos and recommendations, are essential for ongoing prevention and dispute resolution, especially for structural proofing or follow-up treatments.
Table of Contents
- What happens during a professional pre-move pest inspection
- What inspectors check, room by room and pest by pest
- Preparing your home so the inspection actually works
- What to expect on cost, timing and next steps
- Choosing a compliant, competent inspector
- Turning the report into action and protecting your records
- What we see most often in pre-move inspections
- Book your inspection with Bespoke Enviro Services
- Where to verify credentials and standards
- Sources
- FAQ
What happens during a professional pre-move pest inspection
A pre-move pest inspection is a structured assessment of a property's pest risk, carried out before belongings move in. It differs from a general home inspection because it follows Integrated Pest Management (IPM) principles rather than a simple visual scan. IPM works in four stages: identify the pest and its extent, analyze the contributing conditions, recommend targeted action, and monitor results over time.

We conduct a walk-through that covers every room, service area, and access point, looking for direct evidence such as droppings, egg cases, frass, or live insects, along with indirect evidence such as moisture damage or gaps in the building envelope. The Code of Practice for Vector Control Operators requires technicians to assess the distribution of any infestation and the environmental factors behind it before recommending treatment. That root-cause step matters: a technician who finds cockroaches under a kitchen sink but skips the plumbing leak feeding them has only solved half the problem.

This is also why IPM reduces unnecessary chemical use. Instead of defaulting to a spray, an IPM-based inspection looks first at prevention: sealing gaps, correcting moisture, and removing food or water sources that draw pests in. Chemical treatment is reserved for situations where physical and environmental controls alone will not resolve an active infestation. The result is a plan that treats the cause, not just the symptom, and reduces the odds you will need repeat visits after you have already unpacked.
Many general home inspectors are not trained to detect pheromone trails, frass patterns, or subterranean termite activity, which is one reason a standard building inspection should never substitute for a dedicated pest assessment.
What inspectors check, room by room and pest by pest
A thorough inspection covers structural elements, moisture-prone areas, and pest-specific evidence across the whole property, not just the rooms you plan to use most.
- Entry points and structural defects: gaps around pipes, cracks in foundations, unsealed window frames, and damaged door seals that let pests in.
- Wet areas: kitchens, bathrooms, laundry rooms, and any spot with plumbing, since moisture attracts termites, cockroaches, and mosquitoes.
- Termite-specific signs: mud tubes, hollow-sounding timber, discarded wings, and frass, which differ from the greasy smear marks or droppings left by rodents.
- Rodent indicators: droppings, gnaw marks on wiring or wood, and grease trails along baseboards.
- Cockroach and bed bug evidence: egg cases, fecal spotting on mattress seams, and a musty odor in enclosed spaces.
- Standing water and drainage issues: common mosquito breeding sites, especially in gutters, planters, and unused containers.
Inspectors use tools beyond a flashlight and a notepad. Thermal imaging can reveal termite activity hidden inside walls or flooring without cutting into the structure, which is especially useful in older units where timber elements are not visible. Bait stations and traps left temporarily during an inspection can confirm rodent activity that a single visual pass might miss. Photographic documentation of every finding, tied to its exact location, is what separates a credible inspection report from a verbal opinion. Our detailed guide on termite species and thermal-check methods walks through how these signs differ across common species.
Preparing your home so the inspection actually works
An inspection is only as good as the access and information you give the inspector. A few simple steps beforehand make the visit faster and the findings more reliable.
- Clear clutter from service areas, storage rooms, and meter cupboards so technicians can reach walls, pipes, and voids without obstruction.
- Gather any previous pest control reports, renovation records, and photos of past damage or repairs.
- Secure pets and store food in sealed containers before the appointment.
- Avoid using DIY sprays or foggers in the days before the visit, since residual chemicals can mask evidence and skew the findings.
- Confirm the appointment time and expected duration in advance so someone is available to grant access to every room.
Pro Tip: Schedule the inspection at least a week before your move-in date. That gives enough time to review the report, book any needed treatment, and let it take effect before your furniture arrives.
Most residential inspections typically last from under an hour up to a couple of hours depending on unit size and how much of the property needs closer examination, such as roof voids or crawl spaces. Scheduling it early, rather than the day before you move, gives you room to act on the findings instead of unpacking around an active infestation.
What to expect on cost, timing and next steps
Inspection cost depends mainly on property size, access difficulty, and whether specialist diagnostics such as thermal imaging are needed. A small apartment with easy access typically costs less to inspect than a landed property with a roof void, garden, and multiple outbuildings. Our termite treatment cost guide breaks down the factors that influence pricing for termite-specific work in more detail.
Outcomes generally fall into three categories: no evidence found, with a recommendation for routine monitoring; isolated activity, addressed with targeted treatment such as baiting or localized spraying; or active infestation, requiring a structured treatment plan with a defined timeline. Termite baiting programs, for instance, often run over several weeks to establish colony elimination, while rodent control typically involves an initial visit followed by scheduled monitoring checks.
Ongoing monitoring or a service contract changes the cost structure, usually shifting from a one-time fee to a recurring arrangement with scheduled visits. Under SS 721:2025, a property with no active infestation should still receive a monitoring and prevention plan rather than being left unchecked, since conditions can change once occupants and their belongings move in. Ask upfront whether a follow-up visit or guarantee is included if pests reappear within a set period.
Choosing a compliant, competent inspector
Verifying credentials before you book protects you from both wasted money and incomplete work. In Singapore, only companies registered with NEA as a Vector Control Operator may legally provide pest control services, and fieldwork must be carried out by licensed Vector Control Technicians or certified Vector Control Workers.
- Ask for the company's VCO registration number and confirm the technician's VCT or VCW license before the appointment.
- Request a sample inspection report to see whether it includes photos, exact evidence locations, root-cause analysis, and prioritized actions.
- Ask how the provider applies IPM principles under SS 721:2025, including what tools they use and how fogging notifications and PPE are handled.
- Treat refusal to provide a written report, or an immediate push toward chemical-only treatment without any inspection, as a warning sign.
| What to verify | Why it matters |
|---|---|
| VCO registration and VCT/VCW license | Confirms the provider is legally authorized under NEA regulation |
| Sample inspection report | Shows whether findings are documented with evidence and root causes |
| IPM approach under SS 721:2025 | Indicates a prevention-first process rather than chemical-first |
| Fogging notification and PPE practices | Confirms safety compliance for any thermal fogging performed |
Turning the report into action and protecting your records
Once you have the report, decide whether findings call for immediate treatment or staged prevention. Active termite activity or a confirmed bed bug infestation generally needs prompt treatment, while minor moisture issues or early entry-point gaps can often be addressed through proofing and monitoring on a slightly longer timeline.
Keep the inspection report, photos, treatment receipts, and any follow-up service reports together. These records matter if you later need to hand over documentation to a landlord, buyer, or property manager, or if a dispute arises. A 2026 Singapore Small Claims Tribunal decision involved a post-tenancy inspection that found active subterranean termites, where documented locations and infestation status became central evidence in the case.
Monitoring plans, such as periodic bait station checks or scheduled revisits, are worth maintaining even after treatment clears an issue, particularly in properties with a history of termite or rodent activity. Where structural gaps were identified, proofing work should be scheduled promptly rather than left for "later," since untreated entry points tend to invite repeat problems.
What we see most often in pre-move inspections
Across pre-move inspections, we most often find moisture intrusion near bathrooms and kitchens, minor structural gaps around pipe penetrations, and early termite activity in timber fittings that owners had no idea was there. Most of these issues trace back to deferred maintenance rather than anything the previous occupant did wrong.
We apply IPM and non-toxic methods wherever possible, prioritizing sealing, moisture correction, and targeted baiting over broad chemical use, which keeps disruption low for households moving in on a tight schedule. With extensive experience in pest management, earlier inspections relative to move-in day help reduce costs to address findings.
— Bespoke-Enviro Services
Book your inspection with Bespoke Enviro Services
A pre-move inspection is only useful if it leads to a clear, documented plan you can act on, and that is exactly what we deliver. Every inspection includes a written report with photos, evidence locations, and prioritized recommendations, so you know exactly what needs attention before your belongings arrive.

Technicians follow the IPM philosophy set out in SS 721:2025, using non-toxic methods wherever suitable and reserving stronger treatment for confirmed active infestations. What that means for your move:
- A documented inspection report you can keep for your own records or hand over to a landlord or buyer.
- Treatment recommendations that separate urgent action from routine monitoring.
- Follow-up options including baiting, proofing, and scheduled monitoring visits.
If your inspection points to a specific pest problem, we offer direct follow-up through our general pest control services, termite control and treatment, and fumigation services when broader treatment is warranted. Get in touch to schedule your pre-move inspection and receive your report before your move-in date.
Where to verify credentials and standards
- Vector Control Operator licensing: confirms who may legally perform pest control.
- SS 721:2025 background: explains the IPM standard behind proper inspections.
- Fogging notification conditions: sets safety rules for chemical treatments.
Sources
- Vector Control Operator, Vector Control Technician and Vector Control Worker
- Background on Singapore Standard SS 721:2025
- Code of Practice for Vector Control Operator, Technician and Worker (NEA)
- JJA v JJB 2026 SGSCT 21
FAQ
How much does a pest control inspection typically cost?
Cost depends on property size, access, and whether specialist tools like thermal imaging are needed, so prices vary by provider and scope. Contact a licensed provider directly for a quote based on your property, since Bespoke Enviro Services does not publish fixed rates online.
What is the hardest pest to get rid of?
Termites and bed bugs are generally considered among the more difficult pests to eliminate because both can hide deep within structures or furnishings and often require multiple treatment cycles. An IPM-based approach under SS 721:2025 focuses on locating the full extent of the infestation before treating it, which improves the odds of full elimination.
How should I prepare for a pest inspection?
Clear clutter from service areas, gather any past pest reports or renovation records, and secure pets and food before the appointment. Avoid spraying DIY pesticides beforehand, since residual chemicals can obscure the evidence an inspector needs to find.
What smells do termites dislike?
Some homeowners report that certain essential oils, such as orange oil or clove, seem to repel termites in small-scale or anecdotal use, but this is not a substitute for a professional inspection or treatment. Confirmed termite activity should be assessed and treated by an NEA-licensed technician following IPM principles rather than relying on scent-based deterrents alone.